
The end of the tenancy is a stressful period for almost all people. You’re torn between your chores, tasks, and moving to a new place. Amid the chaos, you’re prone to forgetting a thing or two. When it comes to cleaning, though, you don’t want to forget anything.
In this article, I’ll show you how to prepare for end of tenancy cleaning in six easy steps!
Step 1: Start Decluttering

Although decluttering is mainly a practice of minimalism, it can prove pretty useful in some situations that require a lot of cleaning. You don’t want to keep cleaning things you no longer use, and throwing them out amid cleaning will distract you from the actual task of hand.
Before your lease ends, you need to create a pile of the things you use every day and the items you’ll likely keep using. Anything else doesn’t belong in your house.
The act of decluttering has a lot of benefits. For starters, you’ll reduce the moving costs, and you won’t need to clean them. Additionally, you’ll be able to see around your house more clearly, which will help you clean better.
Step 2: Create a Checklist
Creating a checklist will make sure you won’t forget anything while cleaning. It’ll normally include all the rooms, such as the kitchen and the living room. But, you should also include the side items that may be forgotten, such as the curtains, the oven, the windows, the rugs, and the exterior of the house.
If you want, you can call a professional cleaning company to help you with the matter, whether it’s only for inspection or helping with the actual cleaning. They’ll make sure your house is on point, so the landlord won’t stop at the small flaws.
Step 3: Move Your Pets for a While
Cleaning a house while a pet is around isn’t ideal, especially if your deposit return is at risk. It’s better to relocate your pet until you’re done cleaning because he’s going to be a source of dirt, especially if it’s a dog.
When you pass the inspection, you can return to your pet once again!
Step 4: Do a Thorough Inspection

Along with cleaning, you should do a thorough inspection of everything in your house. If there’s anything that needs repairing, you better take care of it before the landlord comes for the last inspection.
Some repairs may take a while, and you might need to call for professional help, so it’s better to start early. In the end, repairing something that you broke yourself will be much cheaper if you do it on your own before the landlord finds it.
Step 5: Polish the Furniture
The furniture is your most important cleaning aspect because it’s the first thing the landlord will check. If you have small children or pets around, your mission will be a bit harder. You’ll want to vacuum every piece before dry-washing it with a store-bought solution.
You should check the stuffing for bad smells and debris. Afterward, you’ll want to inspect the wood for any scratches or marks. You can rub them off using almonds and coffee grounds if they’re minor.
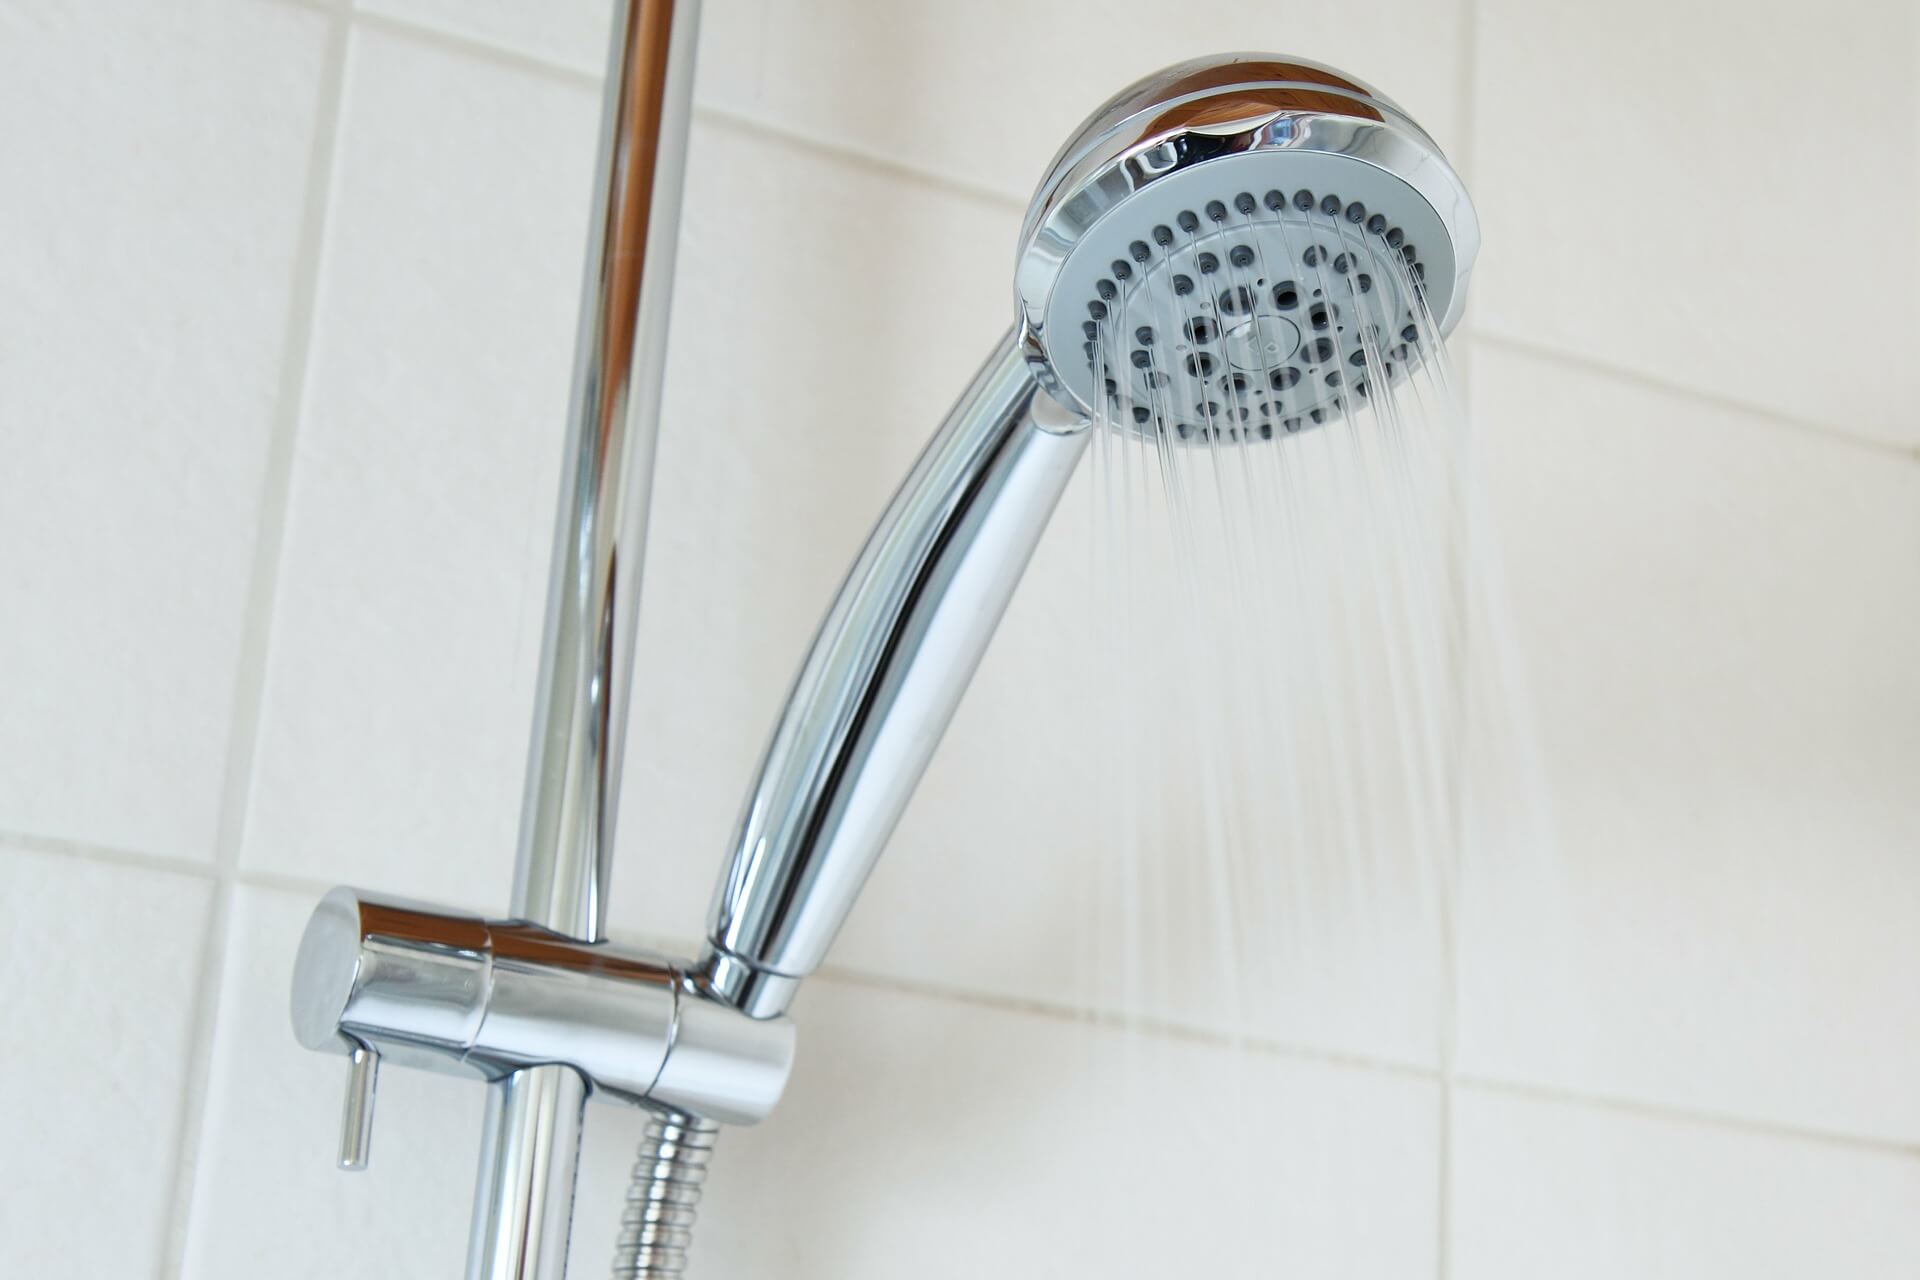
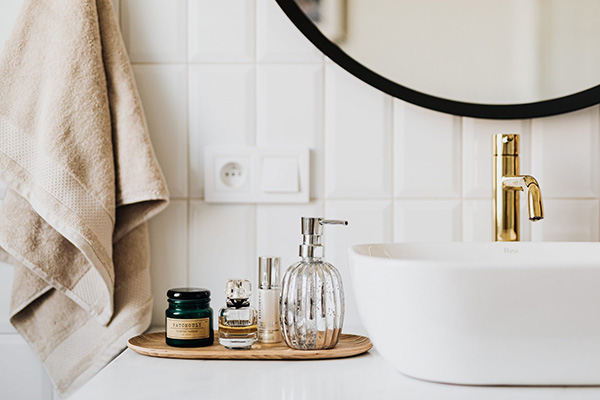
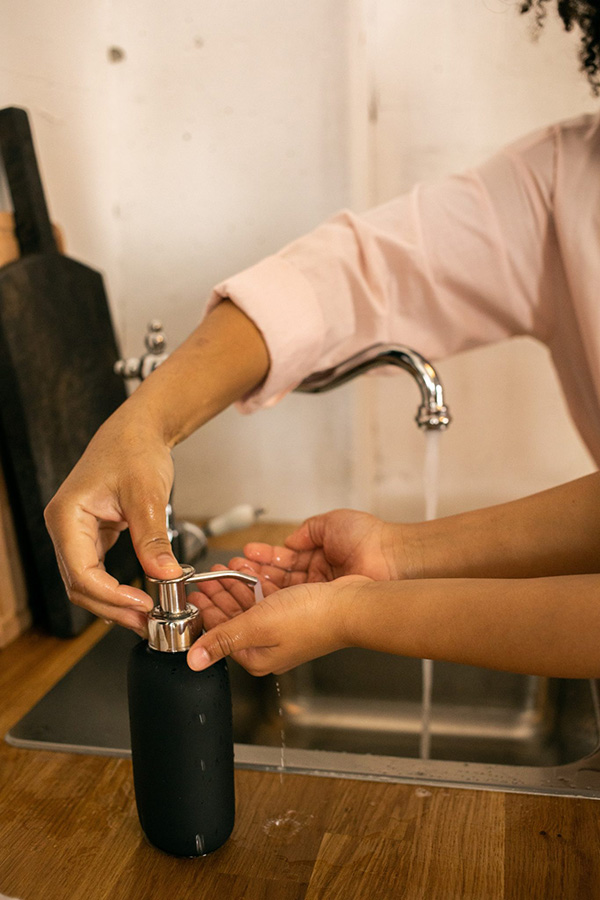
Step 6: Clean All Metallic Surfaces
Every metallic surface in the house needs to be thoroughly cleaned. Most people forget these items, but they’re usually surrounded by limescale and soap buildup that needs to be cleaned. These surfaces include the showerhead, the drain grates, the faucets, and any other similar item.
Furthermore, you’ll want to check the showerhead for plugged holes. The issue is easily cleaned using vinegar, but you need to take a look at it first.
Lastly, you ought to check your windows if they have metallic frames. They’ll likely have collected dust and debris over time, and they’ll need a thorough cleaning. As for the exterior, you can always call a professional window cleaner to ensure the best results.
Final Thoughts
Cleaning is stressful, yes, but it’s necessary if you want to ensure your landlord’s inspection passes safely after your end of tenancy cleaning service in Hammersmith. As long as you have your checklist ready, your pet away, and your cleaning equipment ready, you’ll be just fine!
Cleaning is easier than you think once you actually start doing it.


