Doing your spring cleaning room by room instead of task by task has its merits. For instance, you get to divide your workload over multiple days. It also allows you to take breaks often without leaving the entire house halfway messy. But to make the most out of your deep clean, you have to do it right. In this article, our experienced Chiswick end of tenancy cleaning team goes over a spring cleaning checklist: room by room guide where no detail goes unnoticed!
Spring Cleaning Checklist
Without further ado, let’s dig into our room by room guide!
Kitchen Spring Cleaning Guide
The kitchen is, more often than not, the hardest part of the spring cleaning. Not only because of all the nooks and crannies where grime collects but also because we hold it to a higher standard of cleanliness. Here are the tasks that you need to tackle in the kitchen:
Clear Out Misplaced Items
Take a look around the kitchen to check if anything seems out of place. Throw out the trash, take the dirty rags to the laundry, store the leftovers, and do the dishes. By the end of this step, you should be left with a clear canvas for deep cleaning.
Start With the Stove
If you have a self-cleaning feature on your oven, this step will be a breeze. You’ll just switch it on, wipe the stovetop, and move to another task. If not, then you’ll have to do it by hand. So, grab a strong commercial cleaning solution, a steel sponge, and a small brush to get to all the greasy spots.
Re-Do the Fridge Layout
Empty your fridge and get a spray bottle of 1:1 vinegar solution and water. With a soft sponge, clean up any dirt or stains inside the fridge and on the external frame. You can also use soap as long as you rinse it out well. This is also a good chance to re-think the layout of items in the fridge. Maybe there’s something you can change to give yourself more storage room?
Tend to the Appliances
Much like your fridge, other appliances might be due for some care. Take, for instance, the microwave. When was the last time you really scrubbed it clean? Air fryers, blenders, or smoke alarms will also need a quick go-over. Larger items, like the dishwasher, only need external cleaning.
Organize the Cabinets
Once you’re all done with the appliances, you can move on to the cabinets. Those will take a bit of time since you’ll need to empty and wipe one at a time. When you get to the pantry, try to tackle it with a clear mind. Get some organizer boxes to sort things, and make sure you’re throwing out any expired items.
Scrub the Sink Clean
With a bit of bleach or Bar Keeper’s Friend, you can restore some of the sink’s original lustre and shine. Make sure you have enough ventilation, though. Chlorine inhalation toxicity is no joke!
Finish With a Polish
End your kitchen spring cleaning with some touch-ups. Wipe your countertops, polish any wood parts, and mop the floors. You might need to use a tile brush for the stained spots, but it should be getting together nicely.
Bathroom Spring Cleaning Guide

People tend to dread the bathroom part of the spring cleaning, but it’s really not as bad as you might think. If you managed to successfully get through the kitchen, you’ll be fine here. So, let’s jump right in!
Strip the Bathroom Bare
Start with something simple and easy. Just clear up all the items that might get in your way later on. Remove the curtains and set them aside to be washed. Then, clear up any storage cabinets or shelves.
Scrub Till It’s White
The first real task to tackle here is scrubbing the major bathroom areas: the bathtub, sink, and toilet. Getting those over will clear up a huge chunk of workload. Rely mainly on liquid detergent and keep the bleach limited to the stained spots only. Even something as simple as dish soap can get the job done. For the toilet, you might need to let some bleach sit for a minute before scrubbing with a brush to break up the grime.
Move On to the Walls
You have no idea how many people skip cleaning their bathroom wall, even though it gathers an insane amount of dirt. Don’t believe it? Get close to the walls and check yourself. With all the dampness locked in there, you’ll probably spot staining, dust, and maybe even hints of mildew! The easiest way to tackle it is by scrubbing with a sponge and then hosing (or wiping) down the wall.
Clean the Metals
With clean walls and a clean bathtub, you need to clean up the showerhead to remove the limescale deposits. Some people like doing the plastic bag trick, where they tie up a bag filled with baking soda and white vinegar around the showerhead to dissolve all the grime You can also just do it manually by sprinkling the cleaning mixture over an old toothbrush and going to town with it.
Get to the Floor
Get a good tile brush with tapered ends because you’ll need to scrub all the dirt and grime off your floor, especially around the corners. Pay particular attention to the tiles around the toilet and the drains.
Squeegee Your Glass
Nothing says a clean bathroom like a crystal clear shower. To get that brilliant transparency, get a squeegee and swipe in a “Z” pattern to avoid leaving any streaks behind. You can do the same technique with your mirror, too.
Finish Up With the Aesthetics
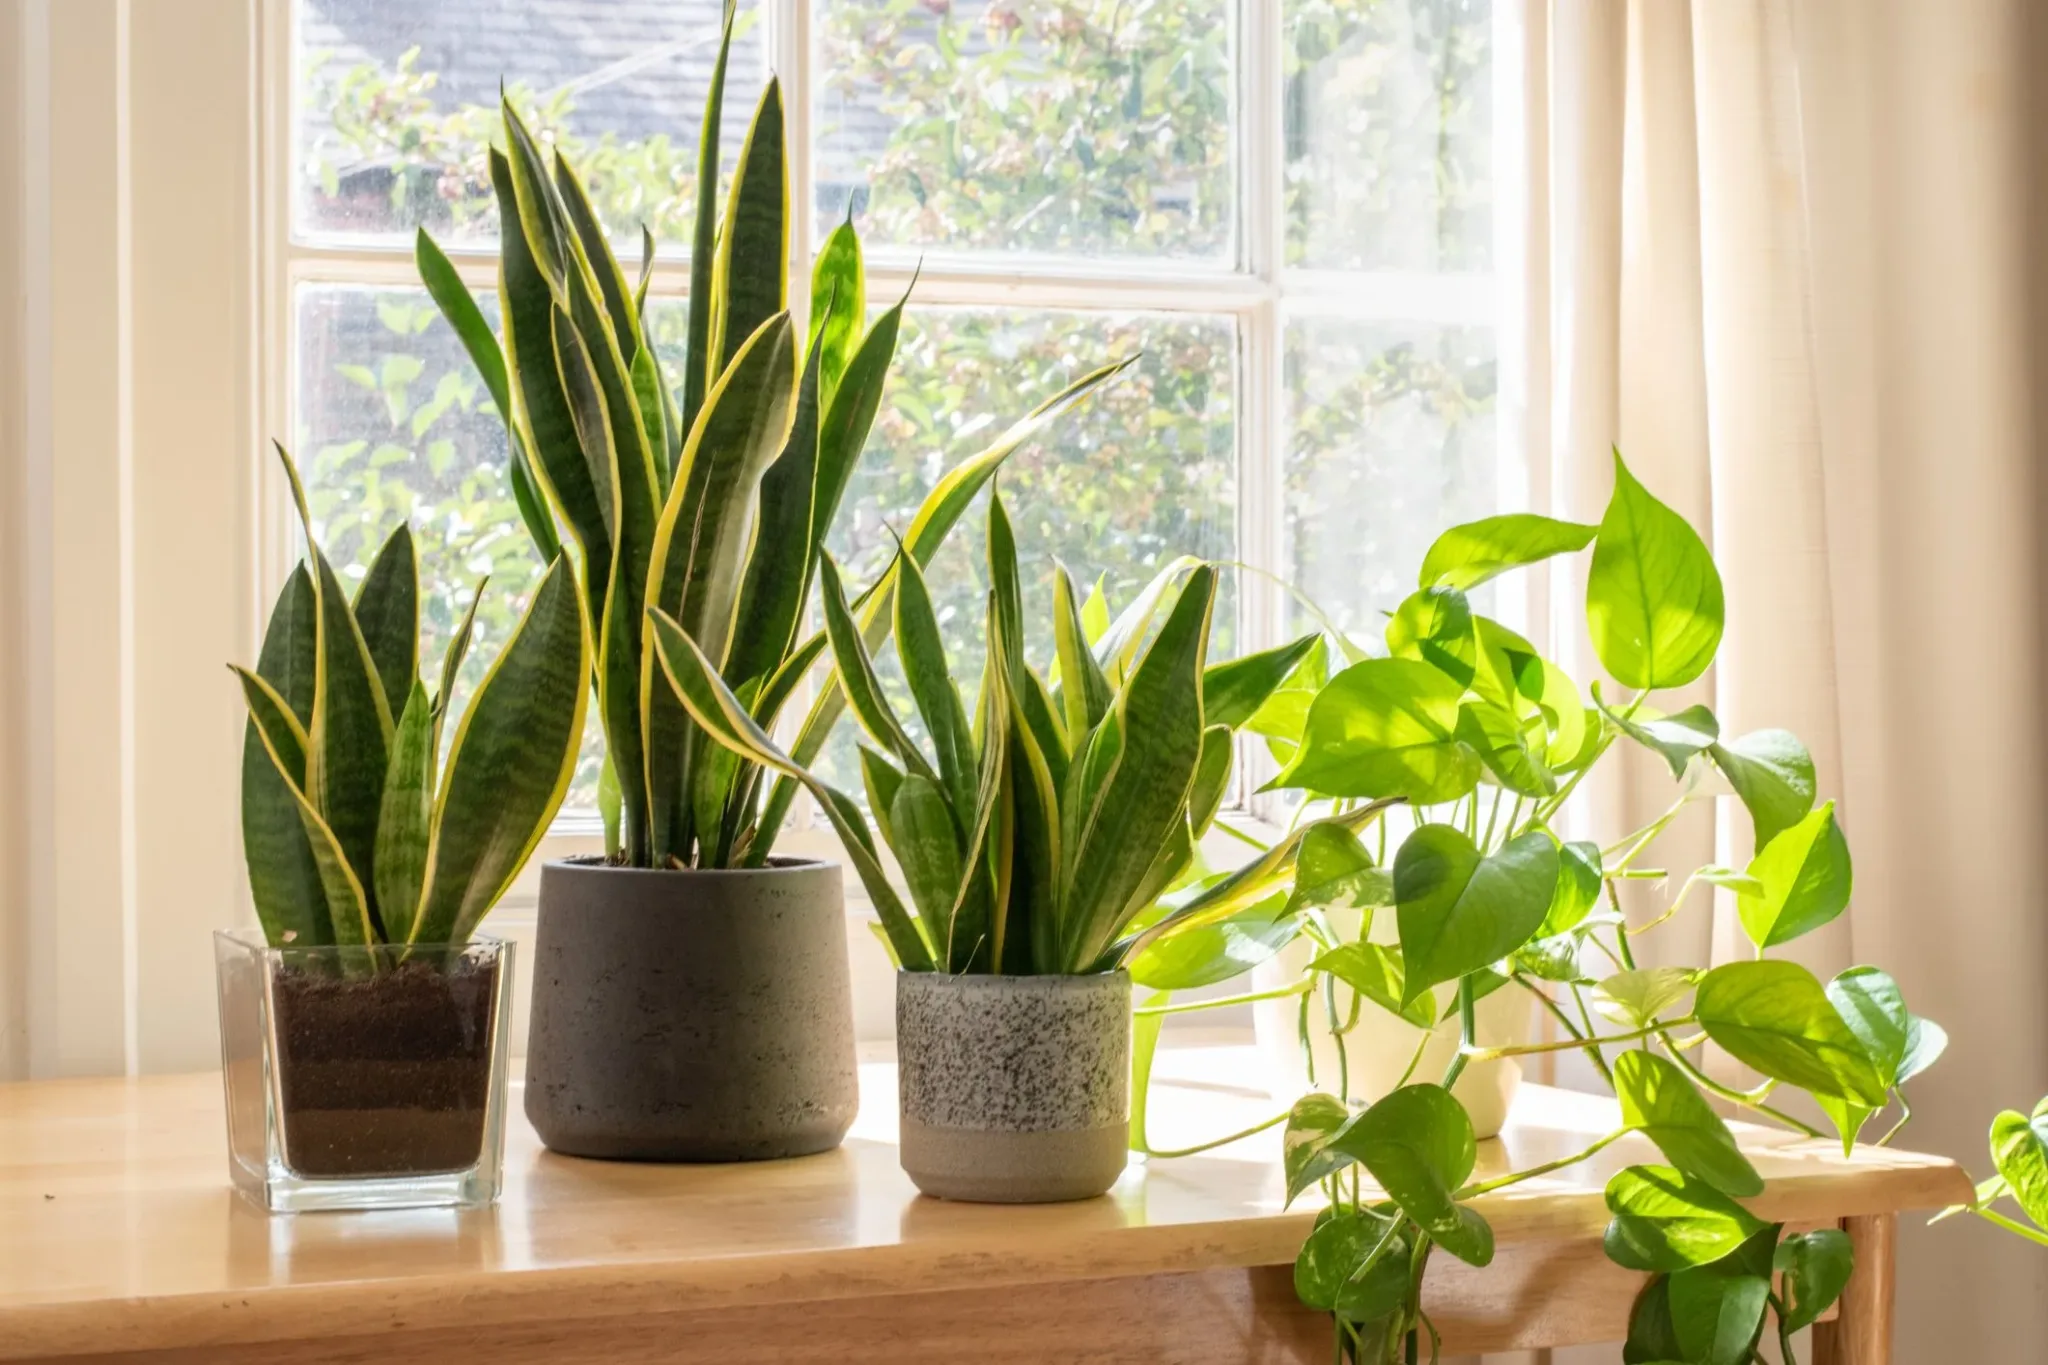
Once you’re all done with the cleaning part, organize the items you removed from the cabinets and shelves. Make sure you have all the medicine cabinet essentials covered. Then you’ll get to tend to the aesthetic part of it all. Hang your fresh shower curtains, put some plant pots, and throw in some air fresheners for good measure.
Bedroom Spring Cleaning Guide

Cleaning up your bedrooms is less about dirt and more about the mess, but at least you’ll be taking a break from all the scrubbing and rinsing for now! Let’s see what there’s to tackle here:
Quickly Declutter the Room
Start by going over the room and getting rid of anything that doesn’t belong where it is. That includes trash, laundry, and dirty cups. Don’t get stuck on this step for long. You shouldn’t give this more than 15 minutes, tops.
Tackle the Wardrobe
If you’re usually an organized person, this step is going to be a breeze. You’ll just put on your clean clothes neatly and move on. However, if your wardrobe looks like a tangled mess, you’re in for some reorganizing. Get to the foldable items first, then hang the ironed ones, and save the accessories shelves for the end.
Organize the Dresser
Just like how you did the wardrobe, you’ll have to do the dresser by emptying out the drawers, wiping them, and reorganizing the items back in. If you have a lot of cluttered stuff, you might be interested in getting a dresser organizer to store your makeup, accessories, and skincare products.
Dust Your Windows
It’s really easy to forget the windows, but it’s the nitty-gritty details that get to you. Start by checking if your curtains need a wash. Then, you can dust your windows, either with a vacuum or with a large cloth. When you’re done, get a sponge to wipe up all the crooks around the window. Finish the step by wiping the window panels with a paper towel or an old newspaper.
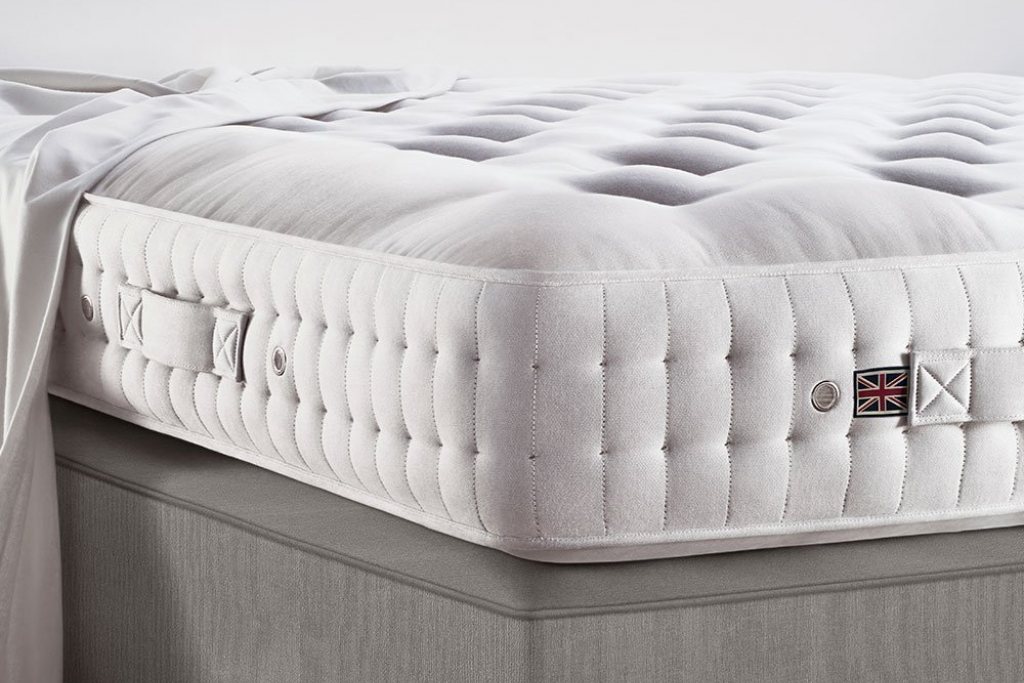
Handle the Bed Area
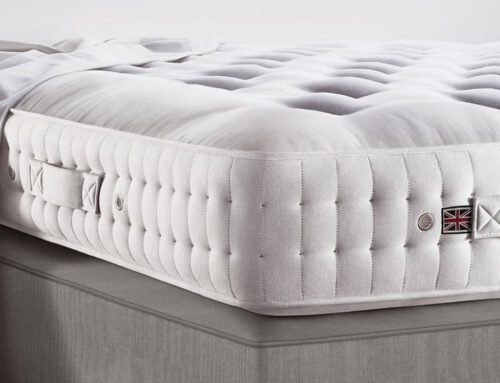
Moving on to the satisfying part, it’s time to change your bedding for that fresh-bed feeling that comes with spring cleaning. If your mattress has seen rough days, you might need to consider giving it a good steam sanitization or letting it soak in the sun for a few hours. Don’t forget the bedside table. It’ll be the first thing you’ll look at when you open your eyes in the morning, and you definitely don’t want to see layers of dust.
Tend to the Personal Spaces
Bedrooms can be a bit more than just a place to sleep, though If you have a little office corner in your bedroom, it might be time to give it a long due cleaning out. Get to the drawers, the chair, and the desk trinkets. On the other hand, if it’s a kids’ bedroom, you’ll have to deal with the play space. Sort the toys you’ll keep and throw the rest out for donation. Sanitize the dirty ones, and get them back together in a neat box or on shelves.
Mob the Floor
You might be getting a bit tired by now, but you’re nearly done! All you need to do now is give your floors a good cleaning, preferably with a scented cleaning solution. Don’t cut corners. If you need to clear up under the bed and mob there too, then do it. You’re doing yourself any favors by half-hearting things.
Living Room Spring Cleaning Guide

Moving on to the busiest place of the house, get ready to spring clean your living room like never before!
Declutter All-Around
As always, you’ll have to start the room’s spring cleaning by removing all that doesn’t belong, from trash to dirty dishes.
Clean Your Couch
Depending on the material, there are different ways to go at this. If it’s a to clean a leather couch, you only need to wipe it with a microfiber cloth and condition it. If it’s a regular fabric upholstery item, then you can vacuum it and remove all the detachable covers to be laundered. Don’t forget to get any throws or pillowcases to be washed, too!
Dust the Electronics
With a microfiber cloth, go over the TV screen, fan blades, light fixtures, switches, and all other electronics in your living room. You’ll also have to clean all the remote controls with a cotton swab. This is one of those “the devil is in the details” things that people forget often.
Deal With the Bookshelves
If you have a bookshelf in your living room, it might be time to empty it and give it a good wipe down. Get a wood polish to restore the shine, and let it dry before putting the books and trinkets back in.
Dust the Windows
Take out the curtains for a wash, vacuum the dust out of the window sill, and then get to all the nooks and crannies with a small sponge or brush. When you’re all done, grab some vinegar solution with an old newspaper or a clean microfiber cloth to get those panels to shine.
Clean the Walls
Your walls might be good with a simple dusting, but in some cases, you’ll have to get out a soft sponge and a paint-compatible soap to remove all the stubborn stains.
Sweep and Mop All Over
When you get to the floor, you need to clean everywhere, from under the coffee table to behind the couch. You can’t really sweep under the rug here since you’ll be taking those out for a wash anyway.
5 Extra Spring Cleaning Tips for All Rooms
Besides the main workload, it’s a good idea to keep some tricks up your sleeve to make the most out of the spring cleaning.
Here are some tips that can make your spring cleaning a bit easier:
Divide and Conquer
To get through the cleaning program without injuries, you might want to divide the workload over multiple days. You can also get the whole family involved so that each could tackle a room.
Donate More
As you get rid of your old stuff, sort all that could be reused and donate it. Immediately after the spring cleaning is done, drive the items to a charity or a shelter. Don’t just let it sit in your car for ages!
Fill Up Your Shopping List
As you go from room to room, take note of what you’re running low on. It’s a good chance to restock on detergent, batteries, toilet paper, and pantry items.
Keep Your Pets in Consideration
Major events like a move or spring cleaning might be too stressful for pets. Make sure you keep them entertained in a different room as you work your way up the house.
Don’t Wear Yourself Out
One off spring cleaning doesn’t mean biting off more than you can chew. Take breaks often, protect your hands with gloves, and work in well-light and ventilated areas.
Final Thoughts
Spring cleaning is a chance to freshen things up and break your hoarding tendencies. It doesn’t even have to be a back-breaking chore if you know how to break things down. With our spring cleaning checklist: room by room guide, you’ll be able to tackle one space at a time. So, get out your sponges and get ready to do all the chores you’ve been putting off!


